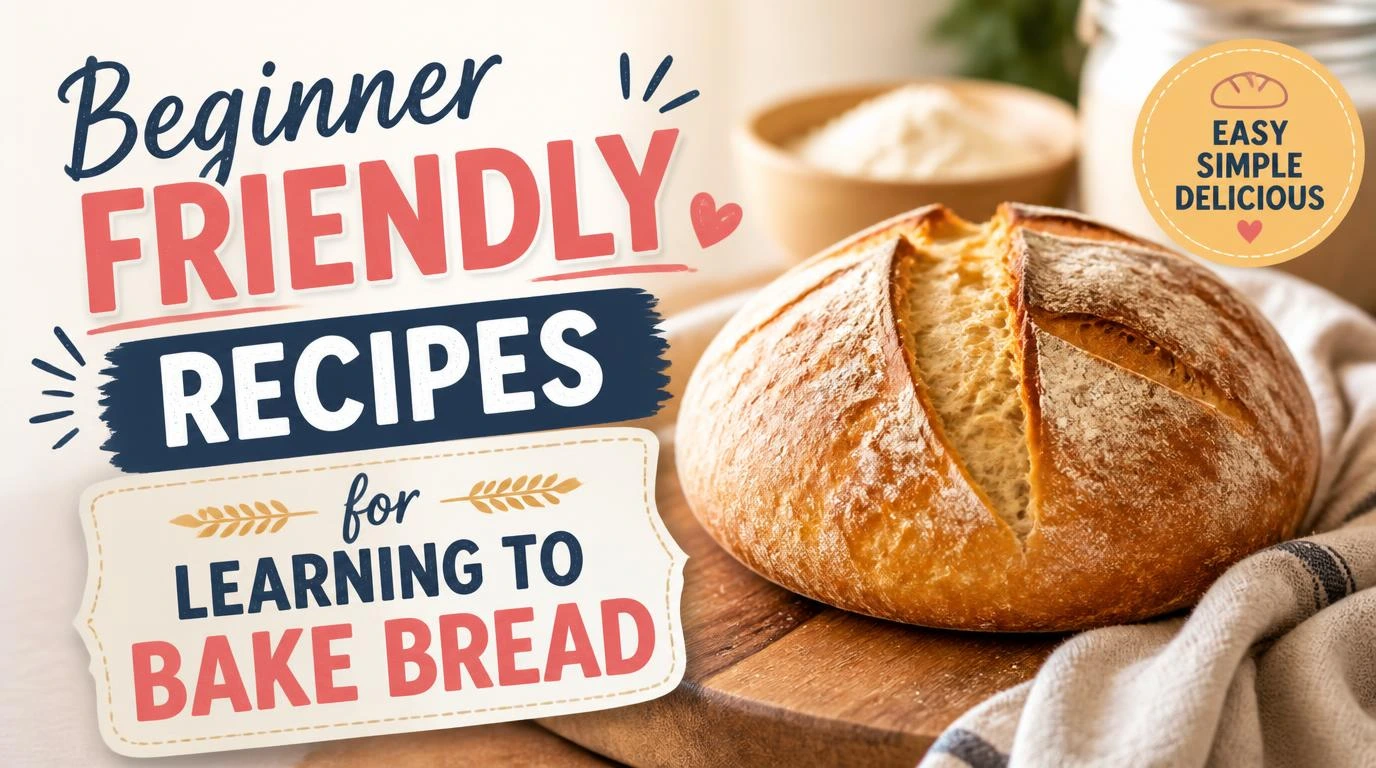
Beginner friendly recipes for people learning to bake bread can turn a flour-covered kitchen disaster into a surprisingly proud little moment. I still think the first loaf should feel forgiving, not like a test you forgot to study for. Start with a dough you can handle, watch how it changes under your hands, and let a few imperfect loaves teach you more than a perfect photo ever could.
Begin with a dough that does not fight you
When you are learning bread, the biggest mistake is choosing a recipe because the finished loaf looks impressive. A tall sourdough boule might be beautiful, but a simple sandwich loaf gives you much more useful practice with mixing, kneading, rising, shaping, and baking.
My favorite starting point uses flour, yeast, water or milk, salt, a little butter or oil, and a small amount of sugar or honey. The dough should feel soft and slightly tacky rather than dry and stiff. If you keep adding flour because the dough sticks to your fingers, pause first. Too much flour can turn a tender loaf into a dense brick.
For beginners, soft sandwich bread is hard to beat. You can shape it with minimal fuss, bake it in a loaf pan, and slice it for toast or sandwiches once it cools.
Master one simple kneading routine
Kneading sounds more technical than it really is. The goal is to work the dough until it becomes smoother and more elastic, not to perform some secret bakery ritual.
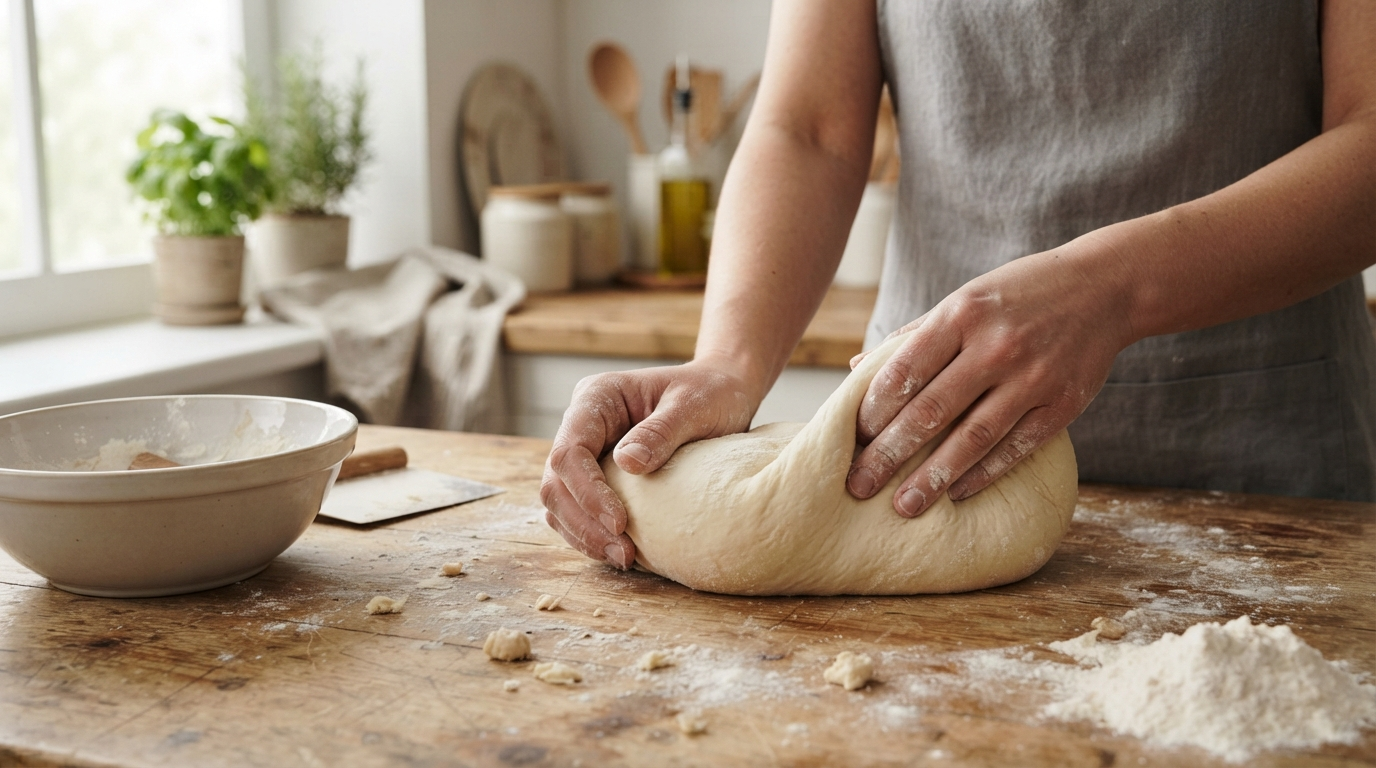
Turn the dough onto a lightly floured surface and push it away with the heel of your hand. Fold it back, rotate it, and repeat. After several minutes, you should notice a change in texture. The dough starts rough, then becomes satiny and springy. That change matters more than the clock.
A common beginner mistake is burying the dough under flour. Add only enough to keep your hands from becoming completely coated. Elastic dough usually gives you a better loaf than stiff dough, especially with simple recipes designed for first-time bakers.
Try beginner friendly recipes for people learning to bake bread with dinner rolls
Dinner rolls make excellent practice because each piece gives you another chance to shape dough. You also get a shorter bake than a large loaf, which feels encouraging when you are still figuring out how yeast behaves.
Divide the dough into equal pieces, tuck the edges underneath, and roll each piece gently against the counter with a cupped hand. They do not need bakery-perfect symmetry. A slightly wonky roll still tastes fantastic with butter.
For extra softness, brush the baked rolls with melted butter while they are hot. Golden tops and fluffy centers make this the kind of recipe that disappears before you have even cleaned the mixing bowl.
Learn what properly risen dough looks like
Recipes often tell you to wait a certain amount of time, but bread does not own a watch. Your kitchen temperature, yeast, flour, and water all affect how quickly dough rises.
Instead of obsessing over the timer, look at the dough. During the first rise, it should become noticeably larger, lighter, and puffy. Press a floured fingertip gently into the dough. If the indentation slowly springs back, you are usually close.
If the dough stays tight and barely changes, give it more time. If it becomes very swollen and fragile, it may have risen too far. Visual cues become one of your best baking tools once you learn to trust them.
Bake a basic crusty loaf when you feel ready
Once a sandwich loaf or batch of rolls feels comfortable, try a simple crusty loaf. This recipe introduces a different texture and teaches you how steam, shaping, and oven heat affect the crust.
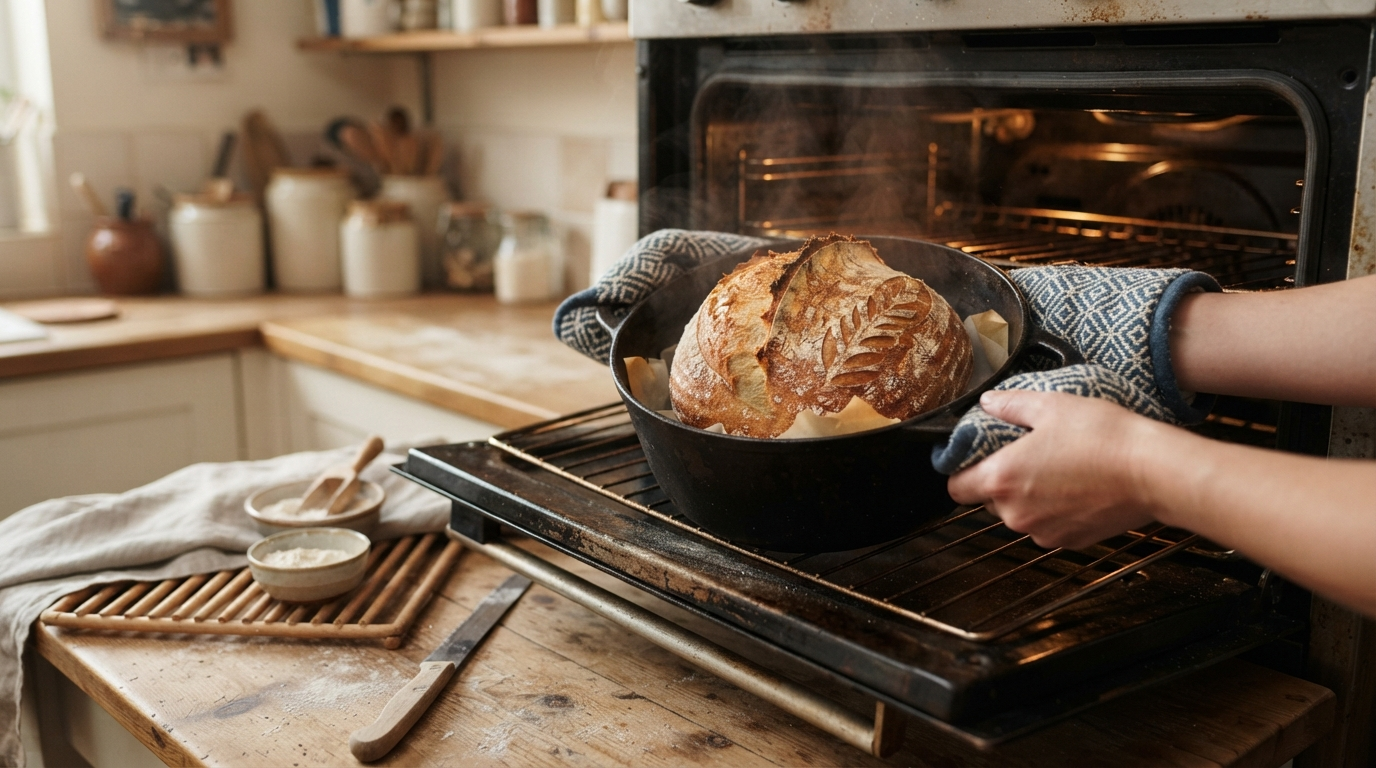
A Dutch oven, such as a Lodge cast iron model, can help trap steam around the loaf during baking. You can also make a good rustic loaf without fancy equipment, especially if the recipe includes another way to create steam.
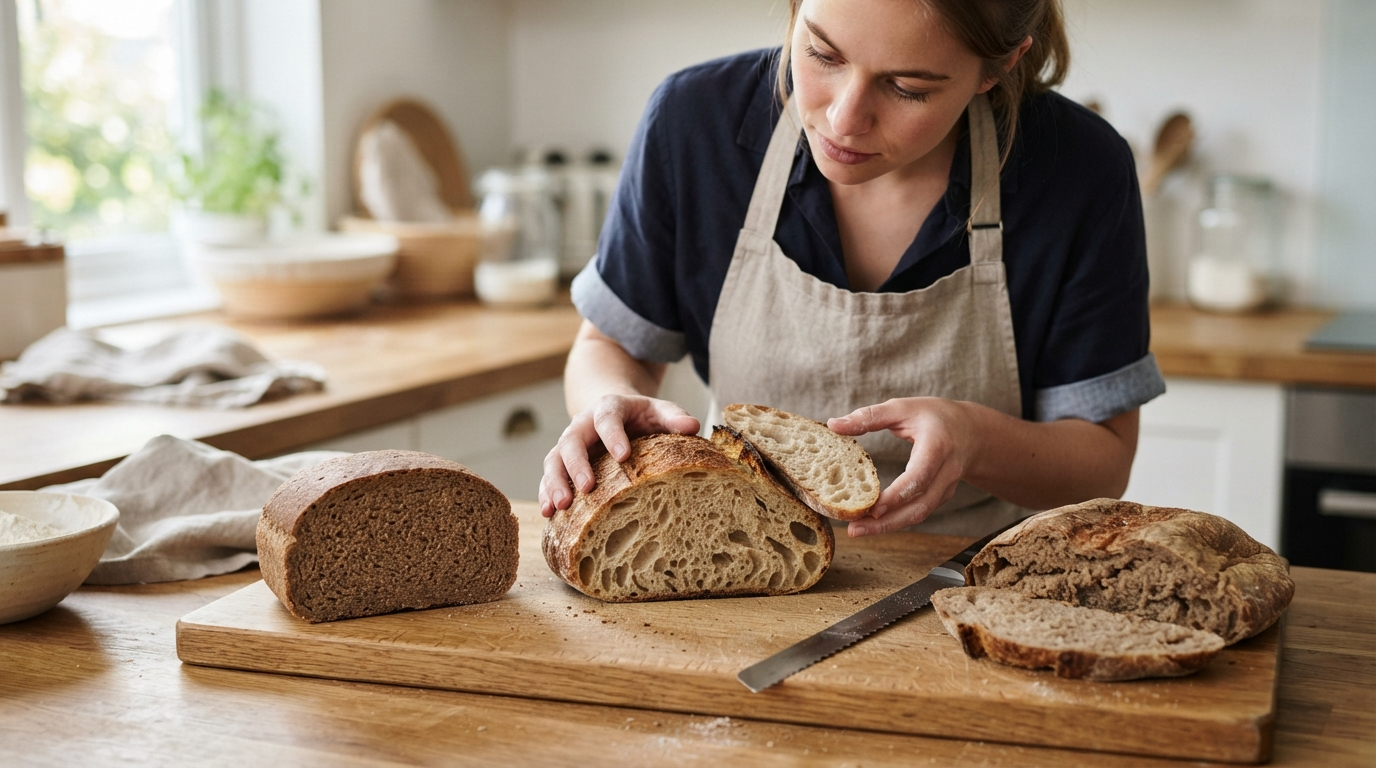
Do not slice the bread immediately after it comes out. The interior continues settling as it cools, and cutting too soon can leave you with a gummy center. Cooling time feels painfully long when your kitchen smells amazing, but it is part of the recipe.
Keep your ingredient choices simple
Bread can tempt you into buying specialty flours, fancy starters, and every tool shown in a baking video. Resist that urge at first. The basics give you enough room to build real instincts.
All-purpose flour works for many beginner loaves, while bread flour can give yeast breads a chewier structure. Instant yeast is convenient because you can mix it directly into the dry ingredients in many recipes. Active dry yeast works well too, especially when the recipe asks you to dissolve it first.
A digital kitchen scale is one purchase I would make early. Weighing flour makes your results more repeatable because scooping cups can pack in different amounts.
Shape dough without overthinking it
Shaping can make beginners nervous because bread tutorials sometimes make it look like a competitive sport. It is not. You mainly want enough surface tension to help the dough hold its form.
For a loaf, gently flatten the dough, fold it into a rough rectangle, then roll it into a log and pinch the seam closed. Place it seam-side down in a greased loaf pan. For rolls, create smooth little rounds by pulling the dough underneath itself.
The trick is to use gentle hands. Surface tension comes from controlled shaping, not from squeezing the life out of the dough. If your dough keeps tearing, stop and let it rest for a few minutes before shaping again.
Use beginner friendly recipes for people learning to bake bread as practice, not performance
The easiest way to improve is to bake the same dependable recipe several times. Changing flour, pan size, yeast, hydration, and shaping technique all at once makes it nearly impossible to tell what actually caused a different result.
Keep a tiny note on your phone after each bake. Write down how warm the room felt, whether the dough seemed sticky or stiff, how long the rises took, and what you liked about the finished bread. Small notes turn random baking luck into useful experience.
You may notice that your second loaf looks almost like the first. That is a good sign. Then, a few bakes later, you will suddenly know when dough needs more flour, when it needs rest, and when it simply needs five more minutes.
Fix the three beginner bread problems that matter most
Dense bread usually comes from a few predictable issues. You may have added too much flour, used weak or inactive yeast, or stopped the rise too early. The answer is usually not “knead harder.” Check the dough and the fermentation first.
Bread that rises beautifully and then collapses can mean the dough fermented too long or lacked enough structure to hold the expansion. A pale loaf may simply need more baking time or a better-preheated oven.
A sharp bread knife also matters once you start baking regularly. A serrated knife from a reliable kitchen brand can slice through a soft loaf without crushing it. And yes, a clean slice makes homemade bread feel much fancier than it has any right to.
FAQs
What are the easiest beginner friendly recipes for people learning to bake bread?
Start with soft sandwich bread, simple dinner rolls, or a basic focaccia. These recipes usually let you see clear changes during mixing and rising without demanding advanced shaping skills. Choose one recipe and repeat it several times before moving on to sourdough or highly enriched doughs.
Do I need a stand mixer to bake bread?
No. Your hands can handle many beginner doughs perfectly well, and hand-kneading helps you learn how the dough should feel. A stand mixer can save effort when you bake often, but it is an optional convenience rather than a requirement for learning.
Why is my homemade bread dense instead of fluffy?
Dense bread often comes from too much flour, under-proofing, inactive yeast, or cutting the loaf before it has cooled enough. Check the dough texture before adding extra flour, and watch how much it expands during rising. Keeping notes after each bake makes these patterns much easier to spot.
Should I use bread flour or all-purpose flour first?
All-purpose flour is a perfectly reasonable place to start because it is common, flexible, and easy to keep in your pantry. Bread flour can give yeast breads a chewier texture, so try it after you feel comfortable with your basic recipe and want to compare the result.
How long should beginner bread cool before slicing?
Cooling time depends on the loaf, but patience usually pays off. A small roll can cool fairly quickly, while a larger loaf needs longer for the interior to finish setting. Slice too early and you can squash the crumb or mistake normal warm softness for underbaking.
Conclusion
Bread gets much less intimidating once you stop judging every loaf against a bakery window. Pick one forgiving recipe, repeat it, pay attention to the dough, and let the occasional strange-looking loaf teach you something useful. What is the first bread you would love to bake at home?